Best Practices for Painting from Photo
- Amarilys Henderson

- Aug 13, 2024
- 3 min read
Painting from a photo? Let's talk about some best practices for using photo references in your art.

Copyright Concerns
The heart of the matter is lies between the words reference and recreation. We aren't artists to recreate photographs. We are artists who bring our voice to the subject through our paints. What's the fun of making our own copy of a photo? While this can be a very useful practice for observation and painting skill, it's not artwork that stands as your own.
Consider how you can make an image your own:
Alter it. If you'd like to keep much of the photo's content, consider making lots of little alteration. Small adjustments add up.
Change it. You could adjust or completely change the colors, proportions, composition, contrast, etc. You can also flip or crop the image easily.
Add to it. Add a different background, more elements... the list goes on.
Shift the mood. An image of a flower is one thing, a painting of it set in a dark room with a single ray of light shining on it is another. As artists, we can communicate so much more than subject matter in our pieces.
Quick moves in Photoshop to prep your photos (video above)
1. Select an Image: Choose an appropriate image from a stock photo website like pexels.com. For instance, if you need a portrait of a deer, focus on finding one with a plain background to facilitate easy editing.
2. Import into Photoshop: Open a new file in Photoshop with standard American letter dimensions (8.5 by 11 inches) or any default printer paper size. Paste the selected image into this new file.
3. Remove Background:
Use the magic wand tool with a tolerance level set to 50 to select and remove the background.
If the selection includes unwanted areas, use the free lasso tool while holding the Alt key to deselect them, or the Shift key to add areas to the selection.
4. Refine Selection: Clean up any leftover areas using the lasso tool and the delete key. This ensures a clean selection of the subject (e.g., the deer head and antlers).
5. Reposition and Resize:
Use the arrow tool to move the subject within the canvas.
Employ the free transform function (Ctrl + T) while holding the Shift key to resize and maintain the proportions of the image.
6. Adjust Levels: Navigate to the image adjustments menu to manipulate the sliders, creating a stark contrast between light and dark areas, emphasizing the darkest parts.
7. Desaturate Image: Adjust the hue and saturation to completely desaturate the image, converting it to black and white. This simplifies the visual information, focusing on form rather than color.
8. Enhance Details:
Add an outline to the layer by double-clicking on it and accessing the stroke option. Adjust the stroke to a thinner setting to avoid prominence.
Clean up any remaining spots using the eraser tool.
9. Final Adjustments: Use the patch tool (activated by pressing J) to remove any unwanted elements by selecting and dragging them to a nearby section with the desired texture or color.
10. Print the Image: Once the image is clean and focused solely on the subject, print it out to use as a reference for your painting.
By following these steps, you will have a well-prepared photo reference that highlights the key features and form of your subject, providing a solid foundation for your artistic process.
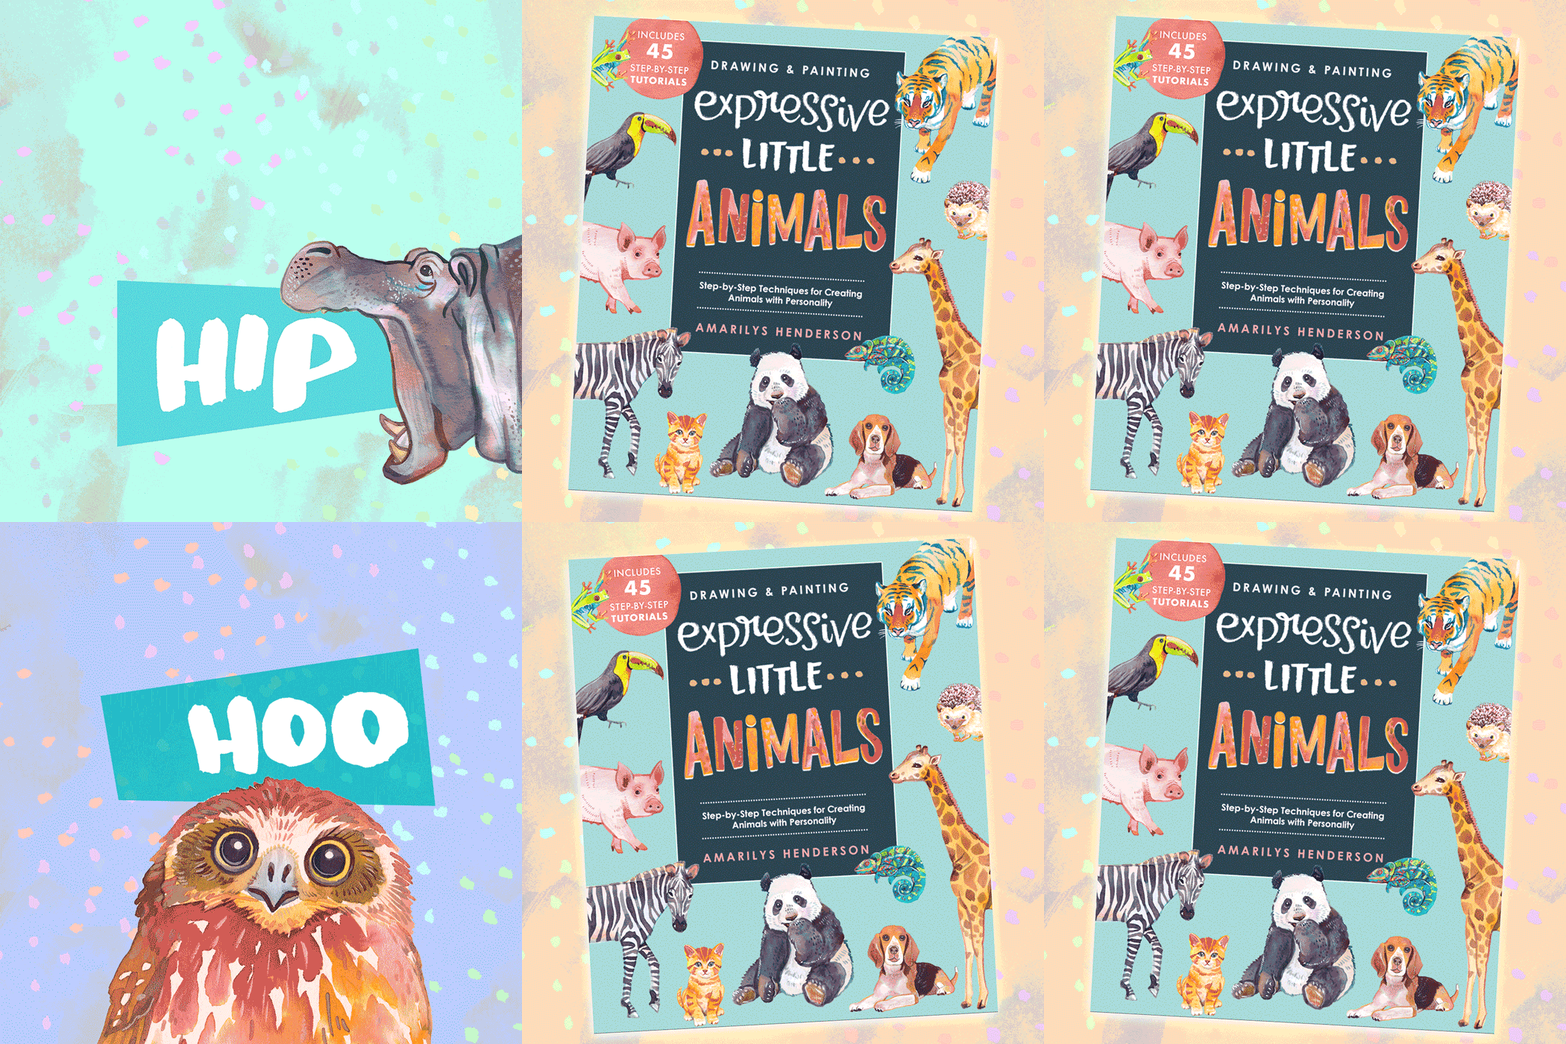
Love painting animals? Paint DOZENS of animals in illustrative, fun ways with Expressive Little Animals by Amarilys Henderson. Purchase via Amazon and major booksellers or request a signed copy below.


Comments